What’s in my tray? – An introduction by Dr Katherine Forsey
Giving a child their own tray when they join your setting is often the first milestone in their educational journey. But can you use it to support them every step of the way? Could you bring it out each parent’s evening to share the progress the child is making? When the end of the school year comes, what happens to that tray? Does the child take it home with them to share their best pieces of work with their parents? Do they fill it with objects and memories over the summer holidays and bring it back at the start of term, easing the switch to a new classroom and a new teacher? Do they take it with them when they finally leave your setting and use it to aid the transition to new, undoubtedly bigger, school? Try letting your pupils take ownership of their tray and see what impact it has on their learning journey.
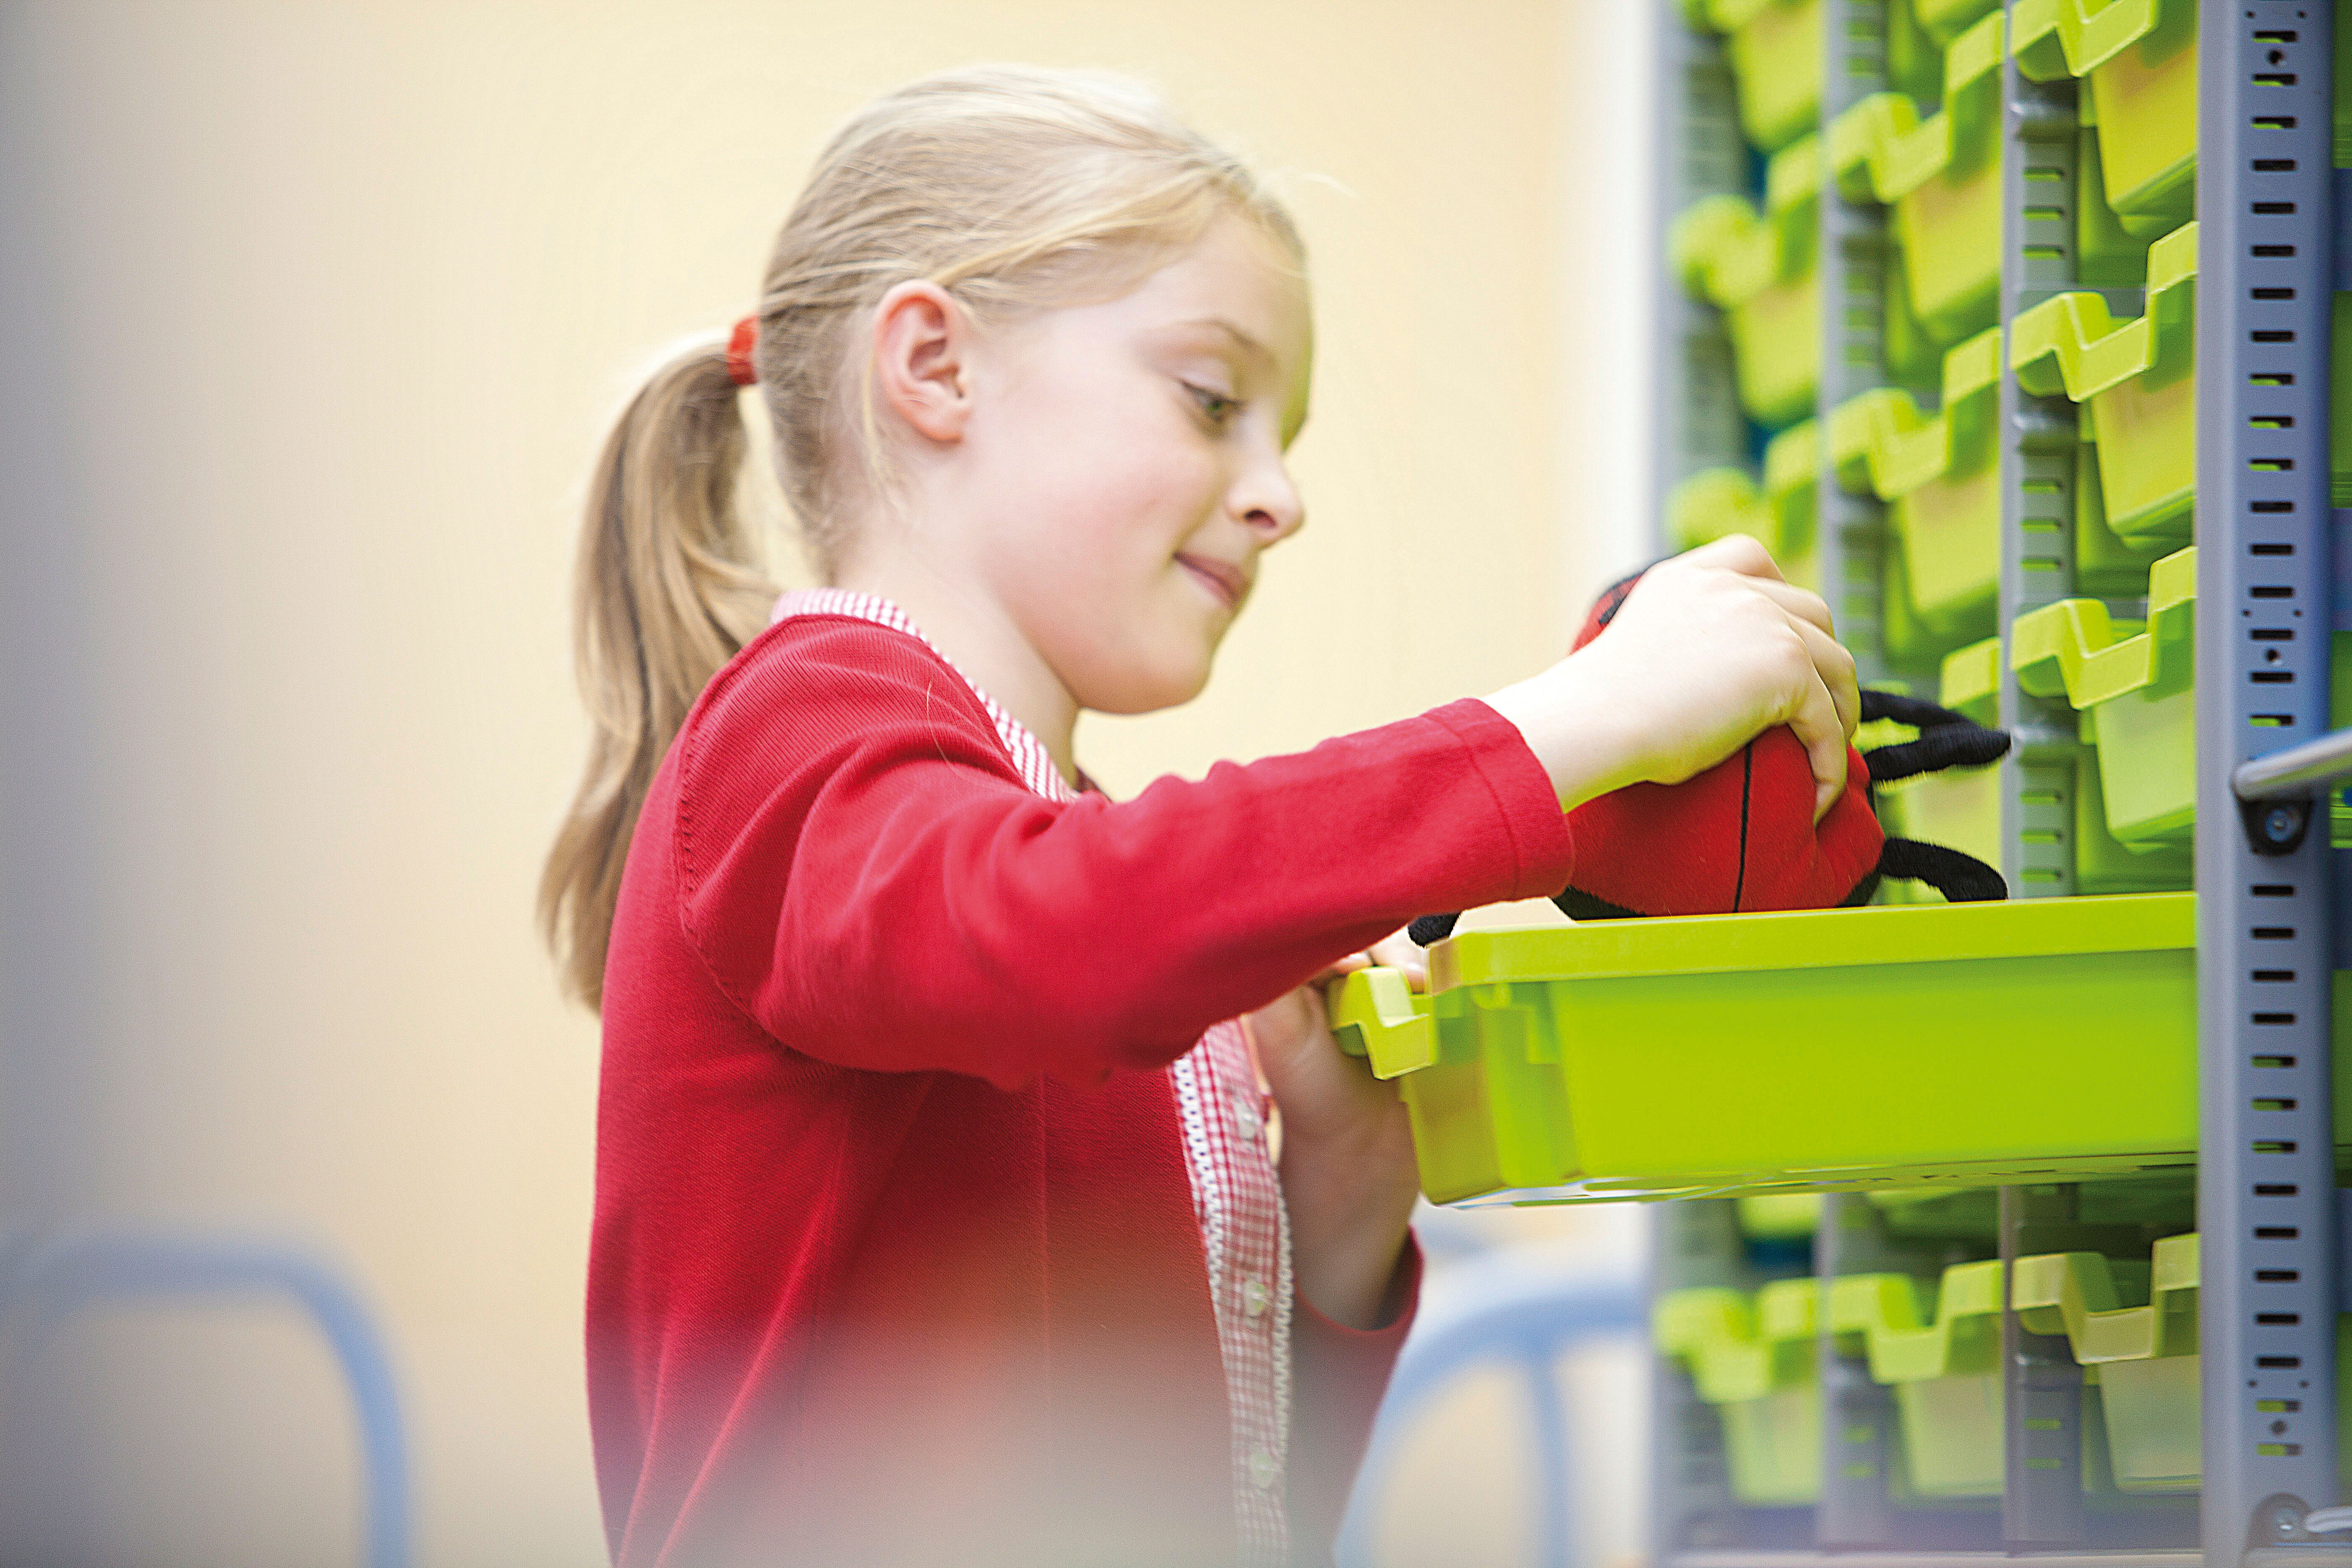
As well as personal trays, and their essential role in storing and organising your resources, Gratnells Learning Rooms has collated an exciting range of activities and ideas for you to try with your children. The one thing they have in common is that they all start with the humble, yet incredibly versatile, tray. You have hundreds of trays at your school, are you getting full use out of them?
We would love to hear from you so get in touch and tell us… What’s in my tray? Share your ideas and send us pictures of your work. Tweet us @gratnells #whatsinmytray
Early Years and Primary Activities
- Could you be an Archaeologist? Conduct tray excavations to find artefacts related to your history topic. Use a shallow or A3 tray and place a few small artefacts in the bottom, cover them with play sand or potting compost so they can no longer be seen. Work in small groups and use plastic spoons and paint brushes to search for and uncover your finds. What time are the artefacts from, Egyptian, Roman, Medieval? Who left them there? What can you learn about the artefacts and their owners? As an alternative, play ‘Alphabet Archaeology’ and bury plastic letters or pebbles or small markers with letters of the alphabet written on, what can the children spell with their finds?
- Learn about quadrats. Advance your archaeology skill set and divide a shallow or A3 tray into 8 squares by laying out a grid of string or cotton (use blue tac to secure to the lip of the tray) over the top of your sand. Map your grid out on paper and record your finds using grid referencing. Which squares will you excavate? Your dig doesn’t have a big enough budget to excavate them all, how will you decide which squares to explore?
- Explore the ice age! Add home-made fossils and the odd dinosaur bone or triceratops to a shallow tray and cover with water. Repeat with a few bowls or other shapes and place in a chest freezer overnight. Turn the ‘Ice Mountains’ out into the frozen landscape and encourage your students to explore and observe what is uncovered as the ice melts.
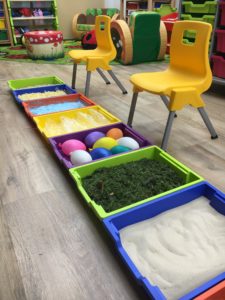
- Get touchy-feely with sensory trays and explore colour, smell and texture. Use feathers, jelly, wallpaper paste, shredded paper, stones or bottle and jar tops in shallow, A3 or art trays. Vary textures, colours and sizes wherever you can. Follow up with grouping, naming, sorting, counting or describing how the items feel and sound when dropped into a second tray. Add spoons and tweezers for separating or moving the items and help develop fine motor skills too.
- Become a Book Detective. Use an extra deep tray, fill it with shredded paper or foam packing peanuts and hide items for the children to find related to a fairy tale or popular story book. Encourage questioning, work in small groups to find the items, piece together the clues and identify the story. Set up several boxes leading to different story books and rotate around the class.
- Everyone loves Lego®! Use a shallow, A3 or art tray as the scene for your creations, be inspired by the different coloured trays and create an underwater world, beach paradise, or jungle adventure. Shallow and deep trays with lids are perfect for tidying up and storing everything when you’ve finished!
- Create your own Minibeast Habitats. This activity works best outdoors as part of a wider Minibeast Hunt and Habitat Creation Fill a shallow tray with everything your minibeast needs to survive. Have you got the right food and shelter? Where will they get their water from? Create a home for your favourite minibeast or a commune for several different species, just be sure to make sure you meet all their needs.
- Bring the outdoors in with seasonal trays. Work in groups outdoors, each with a shallow tray and challenge the children to suggest and then find items related to the season, encourage them to only collect items that have fallen to the ground or have been cut down by lawn movers. Encourage them to think about seasonal colours and textures too and add further seasonally inspired items to their trays once back indoors. Here are a few ideas to get you started:
- Autumn – brightly coloured leaves and leaves in shades of brown, autumn coloured natural objects, twigs, conkers, pine cones, beech masts, acorns, hazelnuts, mini-pumpkins, orange lentils.
- Spring – leaves in shades of green, cherry blossom, horse chestnut flowers, blackthorn and hawthorn blossom, hazel catkins, frog spawn, wild garlic
- Summer – grass cuttings (or use fake grass for a longer lasting display), daisies, buttercups, dandelions, sand, shells, seaweed,
- Winter – use real ice cubes and snow if you’re lucky enough to have some! Alternatively, try instant snow powder and cotton wool or white IncredibleFoam® Dough. Explore textures and temperatures or investigate camouflage with the addition toy polar bears, snowy owls, arctic foxes and hares, wolves and snow leopards. Explore evergreen plants like holly and pine, they’re much easier to spot in the winter.
As a follow up, use tray dividers for grouping and sorting the objects or an art tray for creating a table top display combining objects from all the groups.
- Have a go at Oil Art. There are two different approaches to this, both allow exploration of the properties of oil and water and what happens when you mix them, both create lovely works of art and both need a shallow tray.
- In the first method, place a piece of watercolour paper into a shallow tray, drip a few drops of watercolour paint on to the paper then a few drops of vegetable oil, repeat this a couple of times. Watch what happens as the paint and oil come into contact with each other and how the artwork changes as it dries. Move the tray to a safe location to dry fully overnight.
- In the second, fill a shallow tray with a couple of centimetres of water and add a few drops of thinned oil based paint to the surface. Experiment with different colours and moving the paint around the surface with a mixing with or blowing through a straw. Float a sheet of thick paper on the surface of the water and as the colour starts to transfer, lift it up, let the majority of the runoff drip back into the first tray, observing what happens as you do so. Hang to dry above another tray overnight.
- Build an igloo! Use ice cubes and homemade ice magic sauce with skewers or lollipop sticks providing structure as your sauce freezes.
- Save time in cooking lessons. Lay out all the ingredients each child or pair needs in a shallow or deep tray ahead of the lesson. Involve the children in tidying up after the lesson by grouping leftover ingredients into trays with lids for safe, dry storage.
- Create a Mini Pond. Following a pond dipping activity in your grounds, you may wish you had a little more time to undertake close observation of the invertebrates you find. Invertebrates can be observed for short periods indoors providing you don’t let the water get too warm (warm water contains less oxygen for the invertebrates). Use two shallow trays, place two to four freezer packs or blocks in one of the trays and stack the other tray on top. Carefully add the pond water, invertebrates and some pond plant material for shelter to the top tray. Use magnifying glasses for close observation and do some sketches of the invertebrates you have found, label your diagrams with the adaptations they have that make it possible for them to survive in the pond. Monitor the water temperature with a simple thermometer and compare to the temperature of your pond. Make sure you return the invertebrates to the pond as quickly and carefully as you can.
- Water, water everywhere? Or safely contained in a deep or extra deep tray! Just add drinking straws, plastic tubes, funnels, colanders or introduce washing up liquid and make bubbles. Explore the properties of water and make bubbles in different sizes using different objects. Even better, the trays are light and easy to transport so have the children take their own tray outside before you fill them up using a hose and let them start exploring. Add plastic guttering, water channel stands and multiple trays in different sizes, stacked to different heights to create a water run or plastic ball run and the investigative and creative possibilities are endless!
- Experiment with ice – great for encouraging observations of the melting process, even better when you use coloured or scented ice cubes. Use a shallow tray for your activity, watch what happens and contain the water as the ice cubes melt.
- Camouflage Investigations. Experiment with finding the same or different coloured objects in extra deep trays filled with the same or different coloured shredded paper. There are lots of variables to explore! Grab some stop watches so the children can time each other and how long it takes them to find the same number of objects when the change each variable.
- Minibeast races! Observing invertebrates such as snails or woodlice is a great activity and stimulates lots of questions. Provided you are careful to provide some food, shelter and damp conditions they will be fine in the classroom for a lesson, even better, you could carry out some observations in a shady spot outside. Use a shallow tray with tray dividers and add a thin layer of damp soil or leaf litter to the bottom using a trowel. Search for snails, slugs and woodlice to add to your tray (follow the Minibeast Hunt activity instructions). Which invertebrate makes it from one end of the tray to the other first? Use a stopwatch to time them and be sure to record your data.
Make sure you have snazzy labels for all your trays. From practical labels for organising your resources to themed, editable, name labels for your students there are choices ranging from dinosaurs to minibeasts and space to safari available to download for free. Just search for ‘Gratnells tray labels’ at http://www.twinkl.co.uk/search
Always follow your usual risk assessment procedures prior to undertaking any of these activities with children.
Dr Katherine Forsey is an acclaimed educationalist who works with individual schools, local authorities and charities such as the Woodland Trust. She is also a consultant to Gratnells Learning Rooms, where her specialist outdoor work includes ideas such as pond dipping kits.