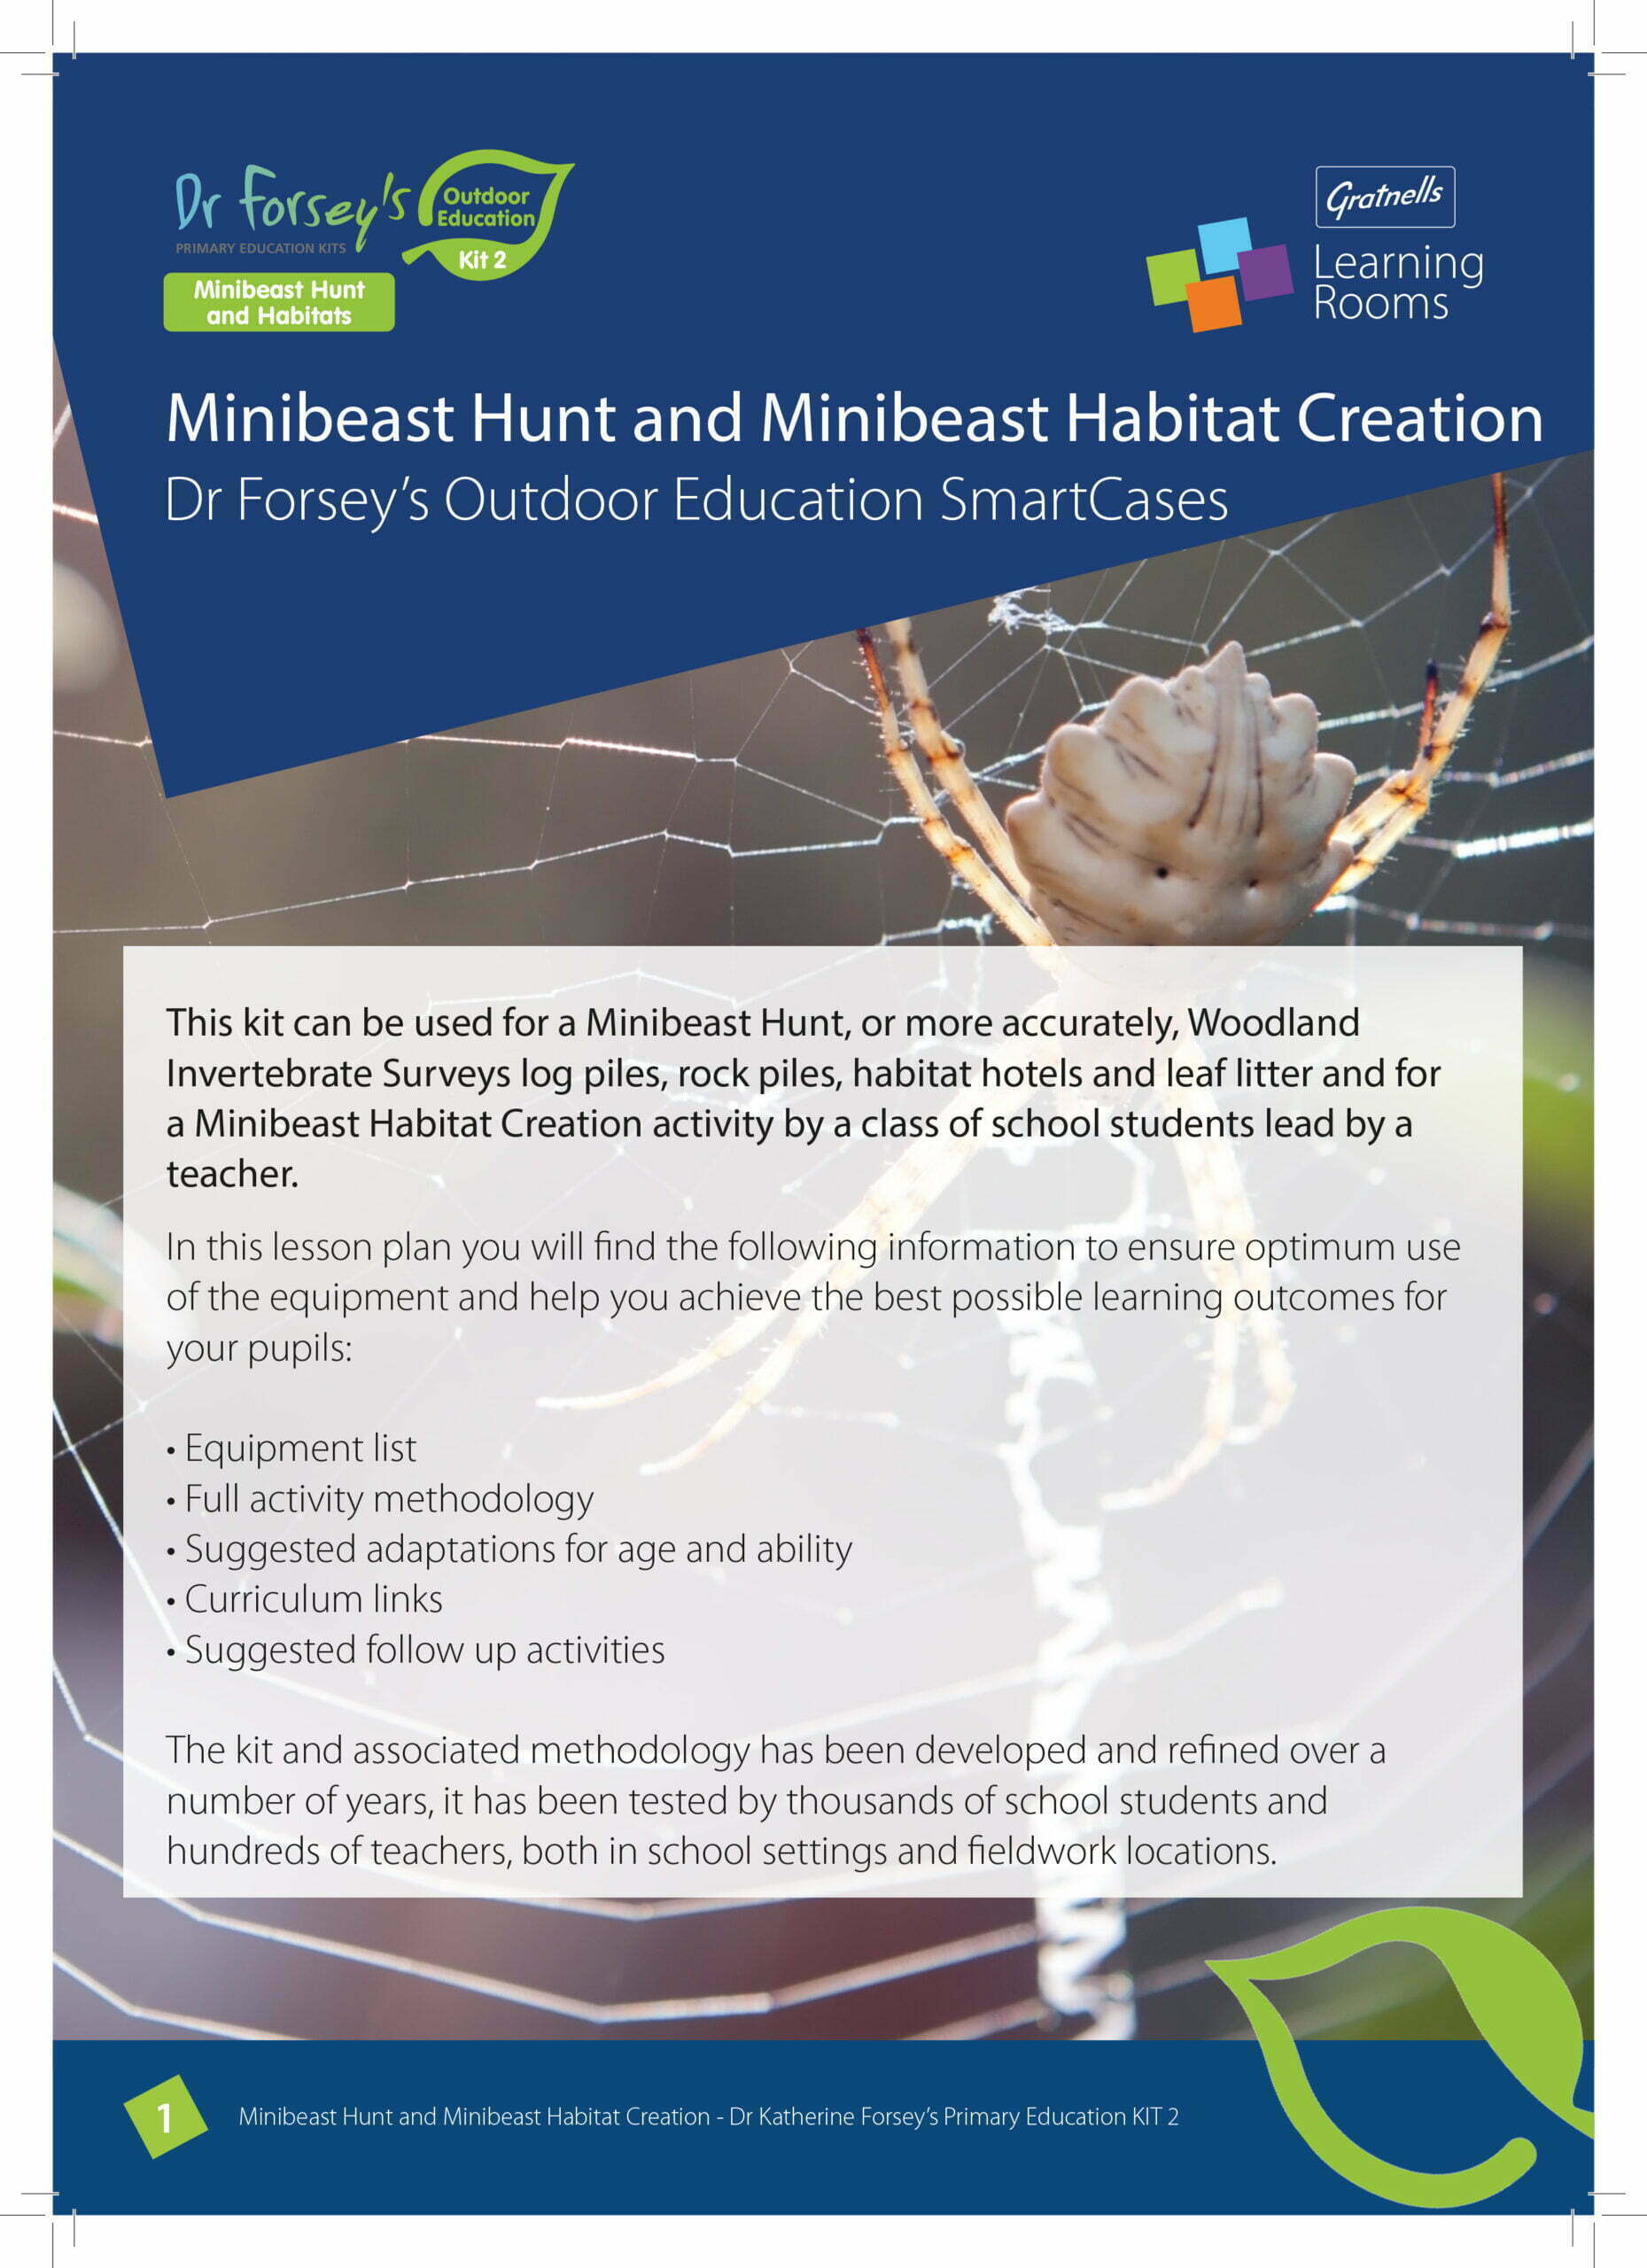
Minibeast hunt – lesson plan
This ‘Minibeast Hunt’ kit can be used to do just that, or more accurately, to carry out a woodland invertebrate survey of log piles, rock piles, habitat hotels and leaf litter, and for minibeast habitat creation activity by a class of school children, led by a teacher.
The equipment is suitable for use across a range of habitat areas.
In this lesson plan you will find the following resources to ensure optimum use of the kit equipment and best possible learning outcomes for your pupils:
- Full experiment methodology
- Suggested adaptations for age and ability
- Example risk assessment
- National Curriculum links
- Suggested follow-up activities
This kit and associated methodology has been developed and refined over a number of years and has been tested by thousands of school children and hundreds of teachers, both in school settings and fieldwork locations. The equipment included has been specially selected to be robust, good value and fit for purpose.
You will need (for a class of 30):
- Plastic spoons x15
- Paint brushes x15
- Collecting pots x30
- Magnifier pots x6
- Magnifying glasses x10
- Invertebrate ID dial x16
- Gratnells SmartCase x5
- Established log pile(s) x5
- Gratnells daughter (habitat) tray x15
- Plastic trowels x30
This package ensures optimum use of the equipment by the teacher and enables them to achieve the best possible learning outcomes for their pupils.
Minibeast Hunt primary national curriculum links
KS1 Working scientifically
Year 1 Animals, including humans
Year 2 Living things and their habitats
Year 2 Animals, including humans
Lower KS2 Working scientifically
Year 3 Animals, including humans
Year 4 Living things and their habitats
Year 4 Animals, including humans
Upper KS2 Working scientifically
Year 5 Living things and their habitats
Year 6 Living things and their habitats
Year 6 Evolution and inheritance
Minibeast habitat creation and maintenance
See HERE for log pile/habitat creation guidance and maintenance tips.
Minibeast Hunt lesson plan
Can be carried out within a 1-hour lesson (excluding preparation).
Preparation
- Well in advance of your lesson, print, cut out and laminate the free downloadable Invertebrate.
ID Dial and/or Spotter Sheet. Alternatively, you could download the free Bugs Count App from OPAL. - Select or design a recording sheet/card (examples are shown at the end of this guide) suitable for the age and ability of your pupils.
- Split the students into groups of six, each group has one SmartCase with all their equipment.
- Designate your working area using markers e.g. football cones (not included) if no natural or man-made boundaries exist.
- You could expand this activity to look at variables such as time of year/seasonal change or type of canopy.
- See the example risk assessment provided in the kit for things to consider before undertaking outdoor activities. Please note, the example risk assessment is provided as a guide only and should not replace that which you will create yourself for your own site, students and activities and taking account of the prevailing weather conditions.
Introduction and demonstration (10 minutes)
Start by explaining that during the activity session, you and your students are going to explore minibeasts and their habitats. A couple of questions to ask as part of your introduction could be;
What is a habitat?
The place where any animal lives is known as a habitat, and different sorts of animals live in different habitats. Habitats can be very big, like the arctic habitats where polar bears live, or very small such as between two blades of grass where a money spider might make its web. Remember, a habitat is just the place where the animal lives. Your house is your habitat!
A pile of logs will be a habitat for many minibeasts as well as larger animals. Can you think what animals you might find living in or under a pile of logs?
Hedgehogs, mice, woodlice, beetles, slugs etc.
Can anyone see any other habitats around them?
Up in the trees, in the hedges, under the leaf litter.
We are hoping to find lots of minibeasts in their habitats today, but what are minibeasts? ‘Mini’ means small, ‘beasts’ means animals. Minibeasts are small animals. Depending on the age/ability of the students you may wish to use the word ‘invertebrates’.
For older/higher ability students –
How might bigger animals like squirrels be adapted to life in the log pile/leaf litter?
Exoskeleton for protection, spiracles (small holes) for breathing, hard wing cases to protect delicate wings and appropriately coloured body structures for camouflage are all examples of adaptations.
Teacher demonstration
- When students arrive, carrying their SmartCases and equipment, gather them around the log pile(s) to demonstrate what they’ll need to do.
- Explain while demonstrating, that students should work together to tilt or roll the logs up off the soil from one side, there is no need to lift them completely away, and they will move only one log at a time.
- Working in groups of up to six children per SmartCase, make sure the children have all their equipment in hand for capturing even the speediest minibeasts (they need the brushes, spoons, collecting pots and magnifier pots for this part of the activity).
- Demonstrate collecting what you’ve found under a log gently into a pot, using a brush or plastic spoon, keeping slugs separate.
- Students should identify and record their finds using the ID Guide and your recording method of choice, appropriate to the age and ability of the students.
- Point out the area they will be working in, assign each group to a log pile and make their boundaries.
Remember the seven golden rules for minibeast hunting!
- Always put logs and rocks back the same way up.
- Never stand on the logs, you might squash the minibeasts living underneath!
- Always make your minibeasts feel at home (pop some leaf mould into the observation pots with them).
- Keep slugs separate, they stick to everything!
- Look carefully, lot of the minibeasts are the same colour as the soil
- Keep quiet and tread lightly so you don’t scare the mini beasts away.
- Be gentle! Minibeasts are fragile.
Activity Minibeast Hunt (~30 minutes)
Introduction
Now the children have learnt where minibeasts live, they are going to make their own minibeast habitat. To do this, there are a number of things to consider, and questions to ask to really get them thinking.
- What makes a good habitat? Dark, damp, leafy etc. (depending on where they have been finding their minibeasts).
- What are the three things that all creatures need to survive? Food, water and shelter. They will need to put all three of these things in their habitat tray.
- What will you use for water? Explore their answers than explain they should first collect damp soil/leaf litter for the base of their habitat, as that is where most minibeasts obtain their water. They should not dig anything living (i.e. green plants) out of the ground.
- What will you use for food? They can use the ID Dials to look up what their invertebrate(s) of choice eats.
- What will you use as a shelter? They should have learnt from the minibeast hunt activity where their invertebrates like to shelter. Ask them not to collect anything bigger than the habitat tray, they are just making a ‘mini’ habitat.
They could choose one type of minibeast (lower ability/age) to make a habitat for, or make a communal habitat in which several minibeasts’ needs should be met (higher ability/age).
Activity
- Working in pairs the students have one habitat tray between two, and one trowel each (no other equipment is needed for this activity).
- The students work back in the area of their assigned log pile to collect the items needed for their habitat.
- Any children finishing quickly should be sent away to collect more items to make their habitat even better and ensure they have food, water and shelter options.
- Once the time is up, or the children are ready to move on, gather all of them into a circle.
- Moving around the circle, ask each pair what their chosen minibeast is and what they have put into their habitat for food, water and shelter.
- Once each pair has done this (or just several pairs depending on time), the students can finally release their previously collected minibeasts into their new habitat and observe them there.
- Finally, and most importantly (this must again be stressed), students must put everything back exactly where and how they found it, so as to maintain the area for the minibeasts to live in. They can do this by gently tipping their whole habitat tray out in between the logs of their own log pile. The creatures will be surrounded by their food, water and shelter.
- Finish with students collecting all equipment and packing away, to bring back to the classroom.
Suggested follow-up activities
Minibeast models/’build a bug’
Research, design and build a giant model of an insect or spider. Conduct your research through observation of live specimens or use a variety of photographs. Use natural materials collected from your grounds or craft materials found in the classroom for construction. Think carefully about the number of body segments, legs, pairs of wings, antennae and tails or sting. Alternatively, design your own imaginary bug. Take the activity further by thinking about how the insect’s features make it perfectly adapted for life in the log pile/leaf litter.
Food chains/web
Initiate further discussions about log pile food chains/webs now or as a follow up in a later lesson. Students could research what the invertebrates eat, and what they are eaten by, identifying which animals are carnivores, herbivores and omnivores.
National projects
You could take part in the OPAL Bugs Count Survey.
Recording sheets
Great for younger students. You could create your own with the creatures common to your minibeast areas and add pictures to aid identification/recording.