
Discover archaeology tray
This activity was created as part of a Gratnells What’s In My Tray CPD workshop for primary science teachers to support practical work and delivery of the curriculum. It can be carried out as a stand-alone activity for students or combined with other activities from the session to form a STEM carousel.
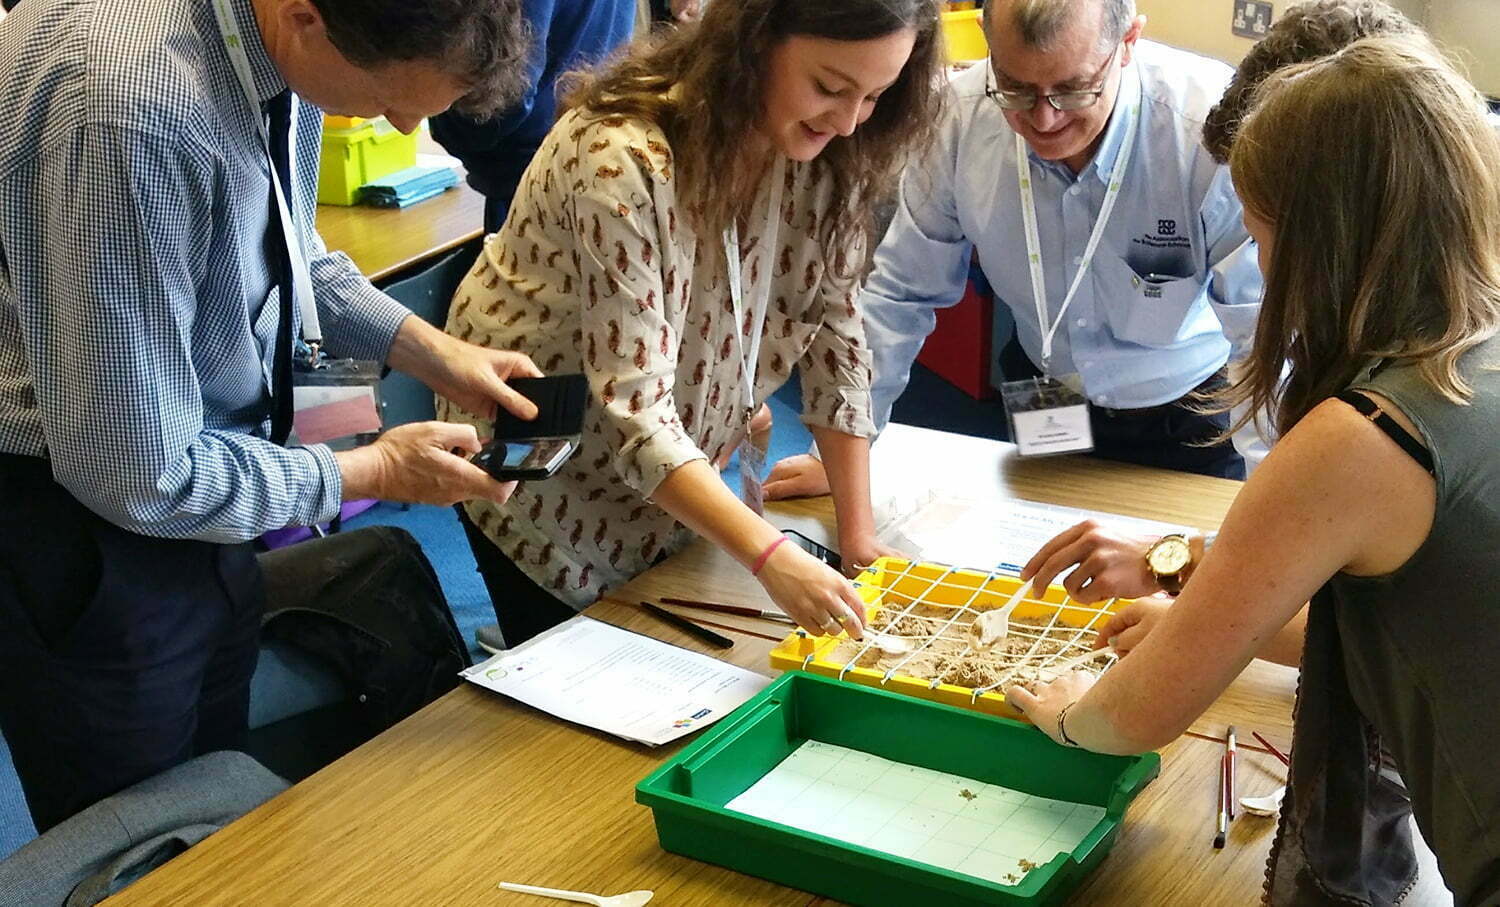
Discover – Could you be an archaeologist?
This simple interdisciplinary activity requires archaeological field work techniques and develops use of mathematical coordinates.
You will need (per team of 4):
- 2 x Shallow Gratnells (F1) trays with lid
- Fine, dry, play sand sufficient to half fill one shallow tray
- Various small items to bury in the sand
- 2 x Children’s paint brush, 1-2cm brush diameter
- 2 x Plastic or metal tea spoon or desert spoon
- Optional: 2 x Jumbo tweezers
For preparation (one set only, not per team):
- 1 x Ruler
- 1 x Fine nib acetate pen or sharpie
Optional:
- 1 x Pack of small post-it notes
- 1 x Pack sticky tack
- 1 x Ball of string
- 1 x A3 piece of paper cut to the same size as the bottom of the shallow tray and a pencil (per team)
- 1 x A3 acetate sheet cut to the same size as the bottom of the shallow tray and an acetate pen
Tip: all the non-optional (and some of the optional) equipment can be reused and the activity repeated by multiple teams.
This activity also works for individuals or smaller teams, just increase the amount of time allocated to complete it.
Preparation:
- Half fill one shallow Gratnells (F1) tray with play sand.
- Using the ruler as a guide, mark the top rim of the tray at 5cm intervals along all sides with the pen to create a grid.
- Label the sections between the marks (x and y axis) with numbers (great for coordinates work) or an alphanumeric grid (letters along the x axis, numbers down the y axis)
- Optional: cut some pieces of string to just longer than the length and width of the tray, place pieces of sticky tack on the pen marks you have drawn on the rim of the shallow tray. Stick the string down at each end to map out the entire grid. Make sure it is taught so it doesn’t hang into the sand. This helps to make each grid square easier to identify, but it does make excavation more difficult.
- Place the various small items at random places in the grid and either mark their location on a PowerPoint slide showing a matching grid or note down the location using coordinates i.e. square A3 = bouncy ball. You could also use long objects that take up two or three grid squares i.e. Square B4,5,6 = Giraffe.
- Optional: Cut down a piece of A3 paper to fit in the bottom of a shallow tray, mark on corresponding grid lines and axis labels at 5cm intervals. Use this as an ’answer sheet’ for teams to mark on the location of their found items, writing directly inside the squares on the paper or using small post-it notes to stick the answers in to the corresponding squares. Pre-written post-it notes could be used for lower age and ability students
- Optional: cut down a piece of A3 acetate sheet to fit in the bottom of a shallow tray, mark on corresponding grid lines and axis labels at 5cm intervals. Mark on the location of each of the hidden items. Use the acetate to overlay the participants answer sheets to check/mark their work. This acetate can also be a useful tool to ensure teams put the objects back in the same location after they have completed the challenge.
- Mark the edge of the tray (and the grid answer sheets if you are using them) with ‘TOP’ in corresponding places, to help ensure orientation doesn’t become muddled.
- Place the brushes, spoons (and optional paper, pencil and jumbo tweezers) into the second shallow Gratnells (F1) tray and pop the lid on.
What to do:
- Approach the trays and lift the lid
- Use archaeology techniques to discover the items hidden in the sand. The brushes and spoons should be used to carefully move the sand to reveal what is hiding underneath without disturbing it too much.
- Optional: do not touch the sand or the found items with your hands, use the jumbo tweezers to lift the items out and place them on top of the sand where you found them (uses fine motor skills and archaeologists would always be careful not to touch their found objects for fear of contaminating them).
- Note down the location of each item you find using the coordinates e.g. square A3 = Bouncy Ball. (Optional: or use the corresponding answer grid to mark down the location of each item).
Tidy up time:
- Carefully push each item back under the sand in their original location.
- Place the brushes, spoons and any other equipment you used back in to the second tray.
- Replace the tray lids.
- Take your answer sheet with you if you are moving on to another activity.
Other things to try:
- Use a collection of items all related to one story, e.g. for Stick Man you could use a small stick, a small plastic swan figurine, a small plastic dog figurine, a mini boomerang, a little tree, a little flag, a mini present, a small Santa, a Lego girl. The participants must guess which story the items relate to, with each item they find they should discuss if it supports their guess or if they need to change their guess.
- Use bug counters as your hidden objects to also support learning around the identification and classification of invertebrates. Once you have found all of them, group and sort the bug counters by number of legs, type or colour.
- Restrict the budget for the dig, the participants are only able to excavate a fixed number of squares so must decide as a group which squares they will choose.
Health & Safety
As with all Gratnells Learning Rooms What’s In My Tray activities, you should carry out your own risk assessment prior to undertaking any of the activities or demonstrations.